-40%
QUAD TUBE AMP BIAS METER 4 6L6 EL34 6550 KT88 6V6 6BQ5
$ 36.43
- Description
- Size Guide
Description
Due to the current situation of the pandemic and the difficulty in arranging shipping,we only ship item on Friday ( once per week ) until further notice.
BE A SMART
CONSUMER
Those products made in
China
might be cheaper, but the
LED type meter display
used a lot of power. Thus the battery will last for only half an hour.
Our meter display is
LCD type
and consumes very low power. Therefore the battery can last much longer, over 100 hours. Our products are made in
Hong Kong
with a much higher quality and better workmanship then those made
in
China
.
We sell at reasonable price and do not mark up our price.
Feel free to read my item feedback from other buyers before you make
the purchase.
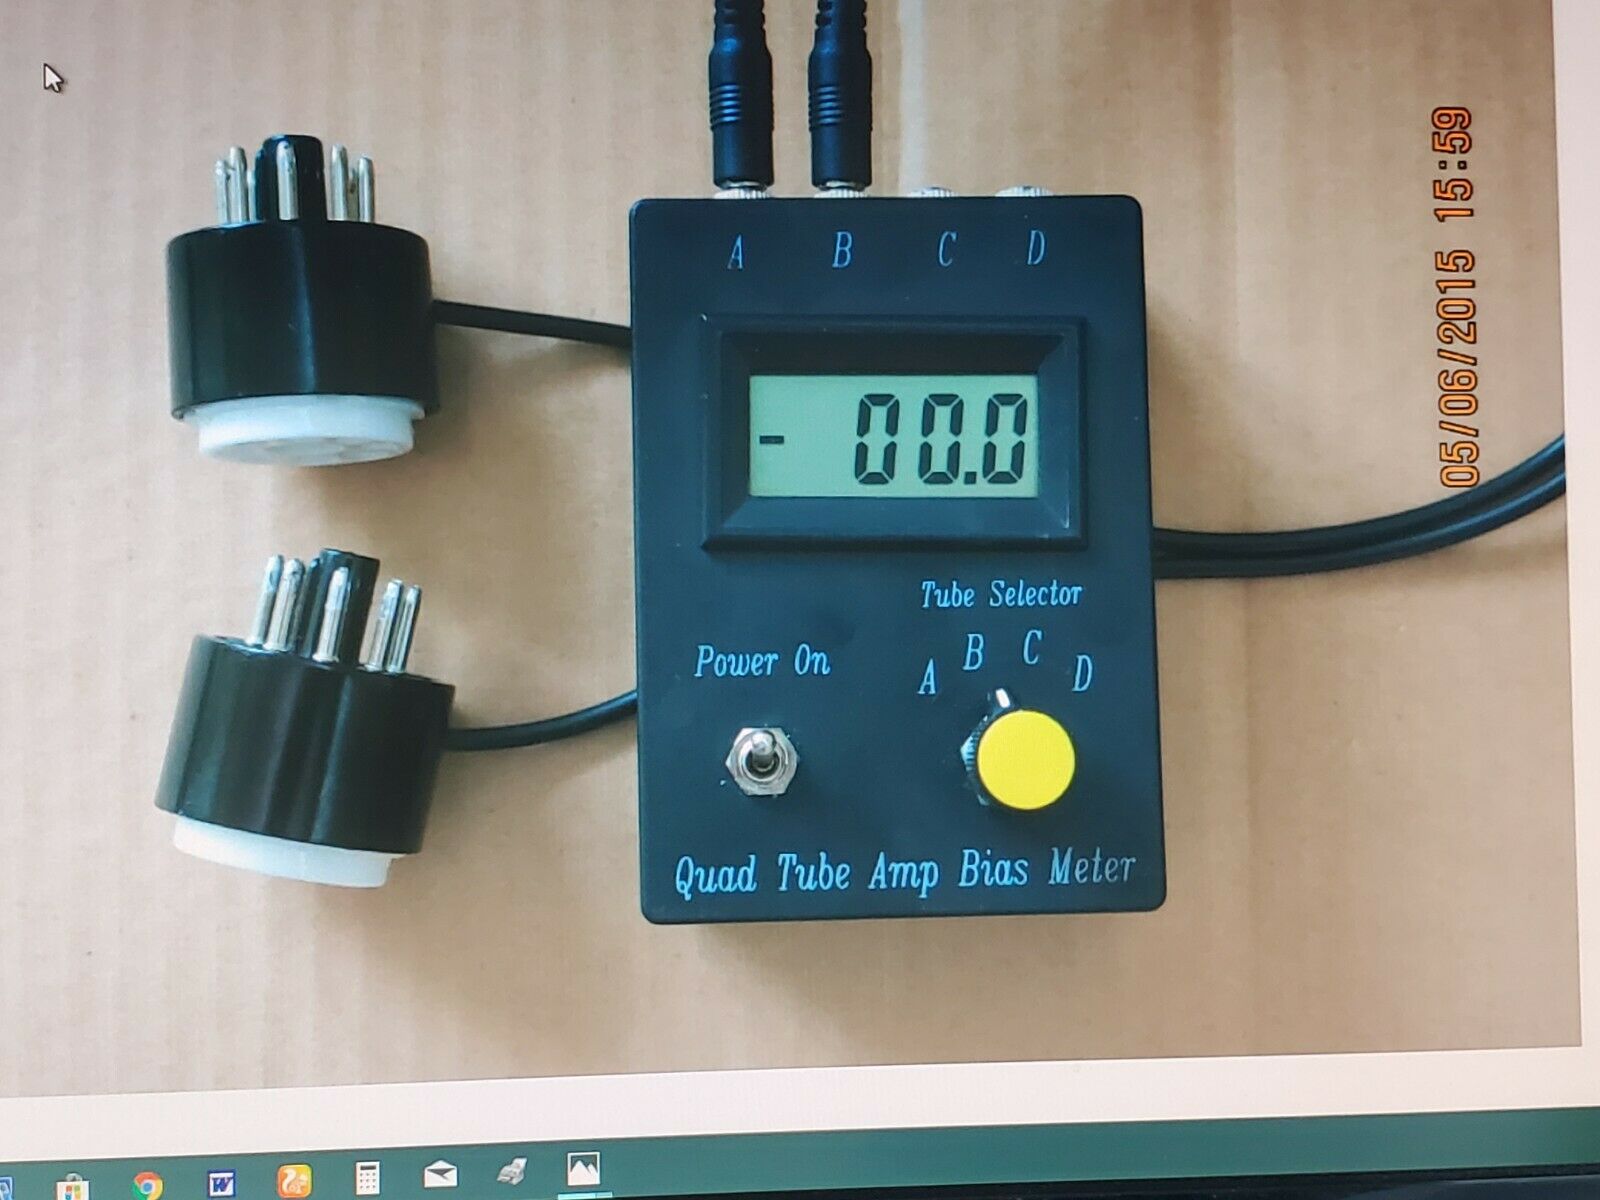
You are bidding on a Four
Stage amp tube
meter
with
one
pair (
2
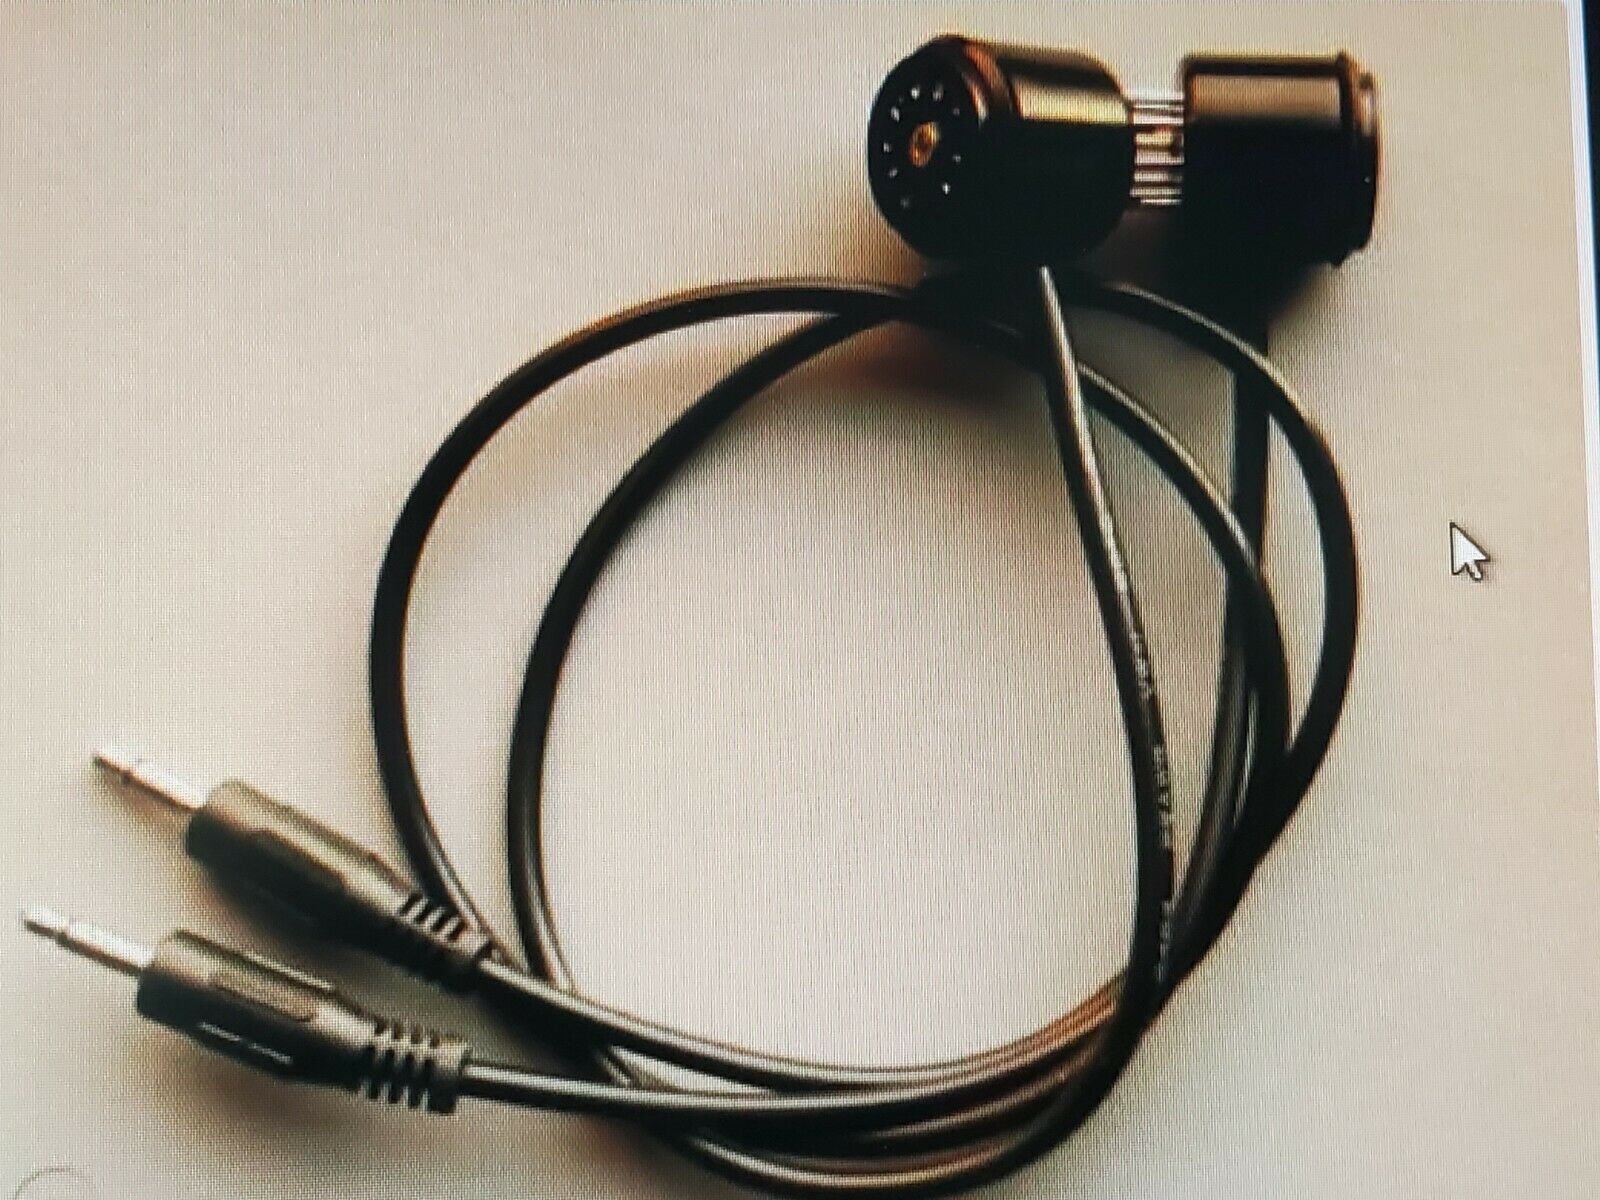
pcs.) probe cables
. (It is detachable)
. You have option to purchase the full configuration
for additional .00
. In full configuration you get four (4) probe cables of your choice (four 8-pin probes, four 9-pins probes or two 8-pin probes and 9-pins probes.
After you make a purchase and make payment, please advice me, if you want the full configuration, and
I will send you
a separate paypal invoice for the extra probes.
They will cover 9 pin EL84
,7189,7189A,6BQ5,
tube types as well as most 8 pins octal
including EL34, 6L6GC, 6V6GT, 5881, 6550, KT-66,KT88,
7027,7027A,
KT88's.
For the future, you can use this meter for other type tube probe cables.
This bias meter range is 1to 199 milliamps.
It is a safe, risk free meter, it measures the cathode current
of the power tube for bias reading (at low voltage side of the tubes ).
Steps to check the bias of your amplifier
:
1.
Turn off and unplug your amplifier.
2.
Remove the power tubes to be checked.
If the amplifier has been used recently the output tubes will be HOT. Allow the amplifier to cool down prior to removing the tubes.
3.
Insert bias meter probes into the tube sockets of the amplifier.
4.
Insert the power output tubes into the bias probe sockets.
5.
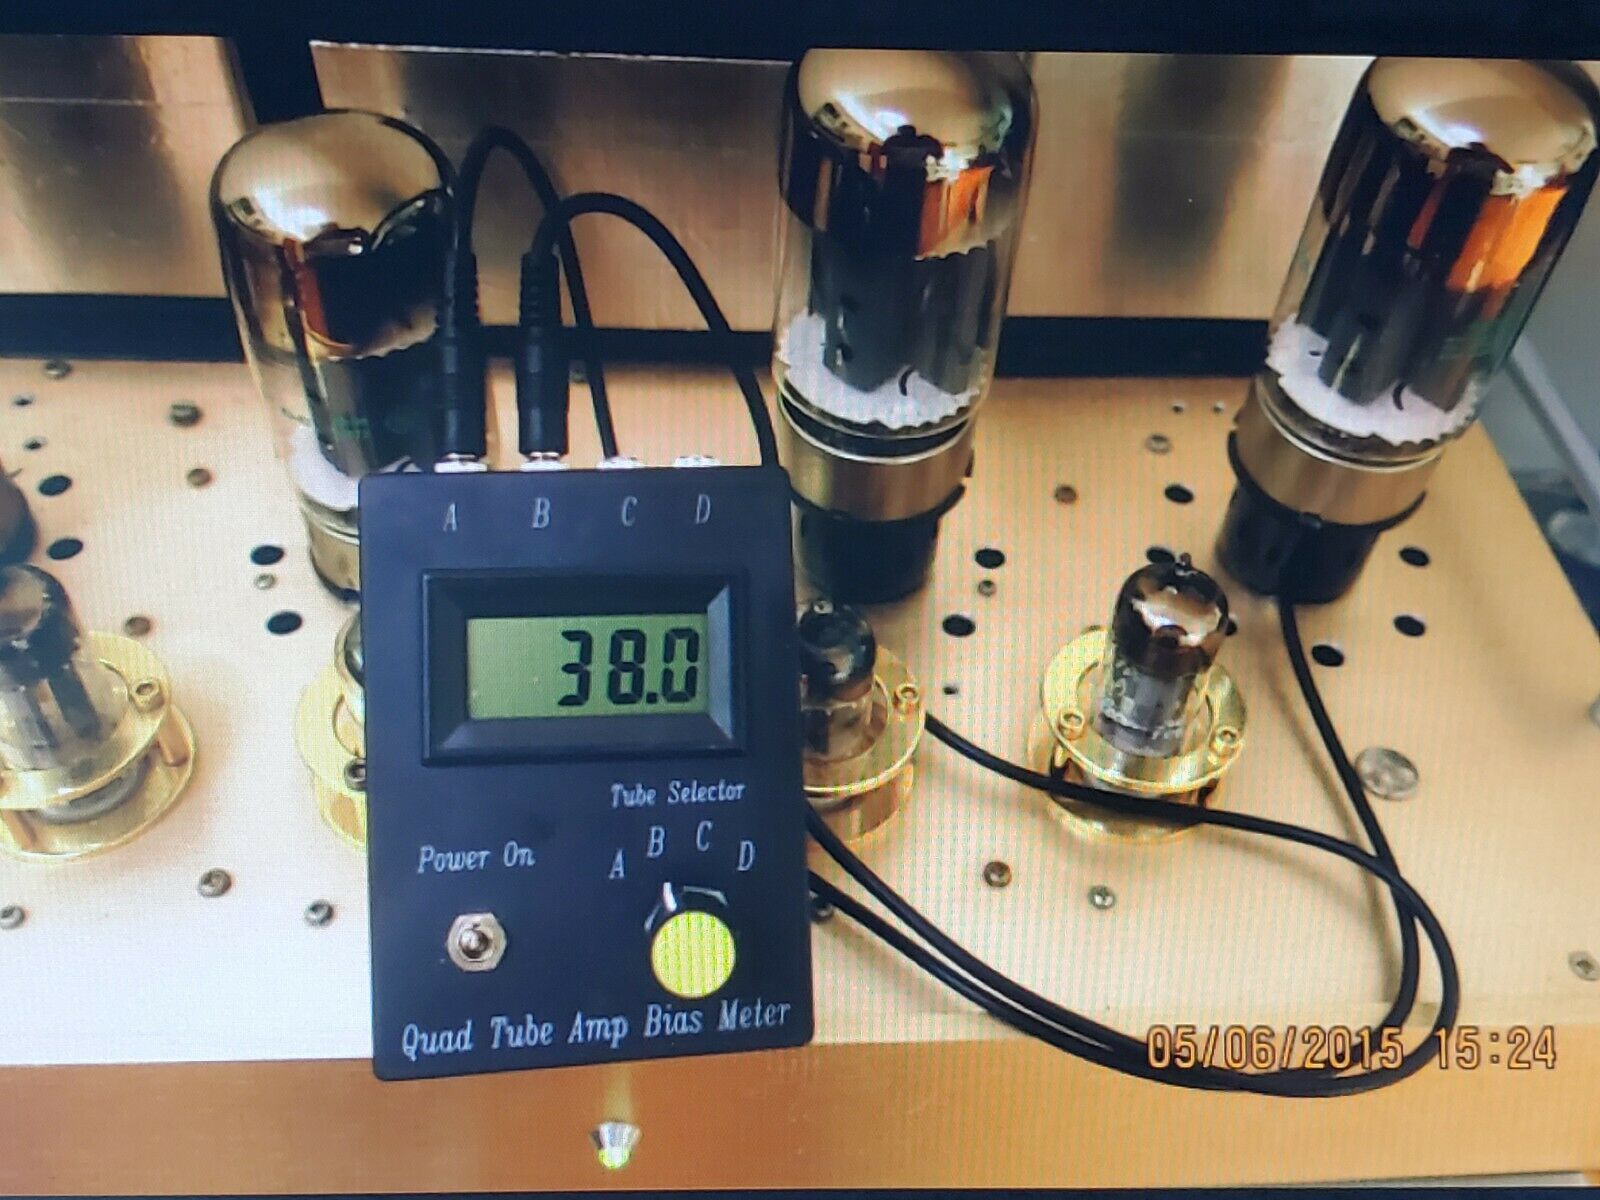
Turn on your power amp and let the tubes get warm (3-5 minutes) read the bias measurement. (As shown on the picture).
6.
Move the switch from ?A? to ?B?. The reading should be no more than 2 or 3 milliamps difference for a good balance between the tubes. At this time you can adjust the current level (using the amplifiers bias adjustment control) to the appropriate level. There are many charts online that will give you the proper range of current for your tubes. Do not exceed the maximum level on these charts or you will damage your tubes. If you see a red glow in your tubes turn the amplifier off immediately. One possible reason is the bias current is too high.
7.
After you have completed checking the bias on your output tubes turn your amplifier off and allow it to cool down.
Again, the tubes will be very HOT at this time.
8.
Remove the bias probe sockets and re-insert the output tubes.
9.
You are now ready to rock and roll!
This procedure should not take more than 15-20 minutes.
No instructions will be printed. For detail instructions please refer to this description.
While you pay please make a note to confirm it which configuration (8-pins or 9-pins) probe cables do you want.
( If you do not make a note to confirm it ,i will send you a pair 8-pins probes )
